The best snow carving sessions begin before the first chisel touches the block. A missed forecast, a wet glove, or a water bottle frozen shut can turn a promising morning into a short, uncomfortable stint. The cold is patient; it finds the gap in your collar, the boot that leaks, the snack you left in the truck. A short pre-sculpting check—ten or fifteen minutes, mostly spent looking, layering, and thinking ahead—keeps those small failures from becoming the story of the day. Use the routine below as a starting point, then adapt it to your site, your tools, and the way your body responds to cold.
Read the Weather and the Site Before You Unpack
Look beyond the daily high. Note wind speed and direction, precipitation timing, sun exposure, and how quickly the temperature will rise or fall during your session. A calm, sunny afternoon can feel comfortable in the open and bitterly cold in the shade of a building or tree line. Wind is the detail that changes everything: it strips heat from exposed skin, pushes loose snow into your work area, and makes a light jacket feel inadequate.
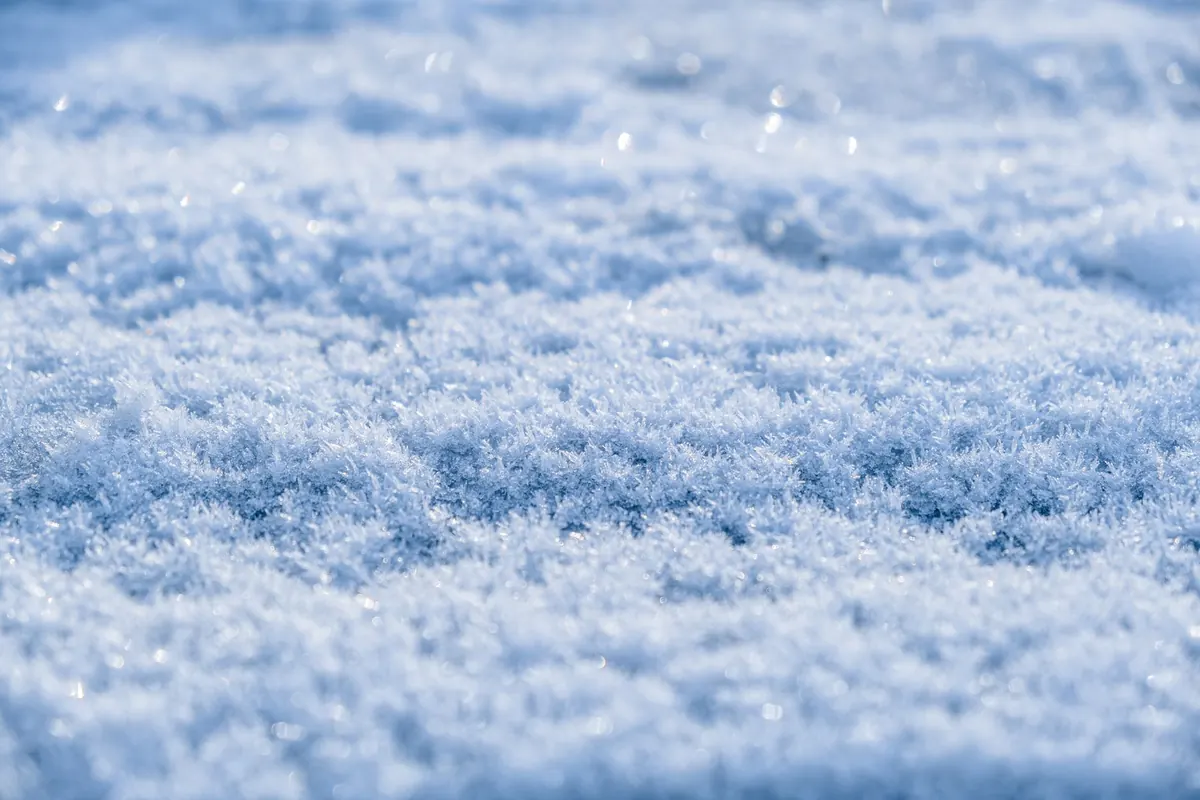
Check the snow itself. Is it packed, sugary, wet, or icy? Probe it with a gloved hand and a tool before committing to a spot. Snow that has been salted or driven over may carve unpredictably; fresh, clean snow behaves differently. Look up for icicles, roof edges, and branches loaded with snow. Look down for slope, drainage, and footing. If the site is remote or unfamiliar, tell someone where you will be and when you expect to return.
- Temperature, wind chill, and wind direction
- Sun or shade across the workday
- Snow condition and stability underfoot
- Overhead hazards and a clear retreat path
- Access for tools, water, and a dry change of clothes
Build Layers You Can Change Without Leaving the Snow
Snow sculpting creates heat while you carve and chills you while you measure, step back, or discuss the next cut. Dress for both states. Start with a base layer that moves moisture away from your skin—synthetic or wool, not cotton. Add a midlayer for insulation, then a shell that blocks wind and light precipitation. The shell should be easy to open, vent, or remove with gloves on, because you will adjust it more than once.
Keep the fit working. A jacket that is too bulky restricts your shoulders when you reach across a block; a pack that rides high can interfere with hoods and hats. Bring a dry insulating layer in a waterproof bag, even if the forecast is clear. Snow has a way of finding cuffs, collars, and pockets. A neck gaiter, warm hat, and a spare pair of socks take up little room and solve common problems.
Quick layer test
Before you pick up a tool, raise both arms overhead, squat, and twist at the waist. If fabric pulls, bunches, or leaves a gap at your lower back, fix it now. You should feel cool before you start moving—not cold, but not warm enough to sweat. Sweat is the enemy of a comfortable carving session because it cools quickly when you stop.
Protect Hands and Feet as Carefully as Your Tools
Hands are the first thing to suffer. Use a liner glove under a waterproof outer glove, and carry a dry spare pair in a pocket or pack. Thin liners give you dexterity for detail work; heavier gloves handle blocking and moving snow. Avoid bare skin against snow, metal tools, or ice. If you use disposable hand warmers, follow the instructions and check them before they become too hot against skin. Cuffs should seal over your sleeves so snow cannot work its way down your wrist.
Feet need the same attention. Waterproof boots with a warm sock, plus gaiters if snow is deep, keep you mobile. Boots that are too tight restrict circulation; boots that are too loose cause blisters and poor footing. Carry a spare pair of socks and change them if your feet get damp. Toe warmers can help on very cold days, but they are not a fix for wet boots. Keep a dry towel or cloth in your kit for hands, tools, and face.
Drink and Eat Before You Feel the Need
Cold air and focused work make it easy to forget water. Drink before you leave, keep an insulated bottle within reach, and take a few swallows each time you step back to study the sculpture. A bottle with a wide mouth is easier to use with gloves; a frozen tube or valve is useless. If you carry a hydration pack, blow a little air back through the tube after drinking to reduce freezing, or keep the tube inside your jacket.
Bring food you can eat with gloves on: nuts, dried fruit, cheese, a sandwich cut into pieces, or a thermos of soup. Eat small amounts through the session rather than waiting for a big lunch. A warm drink is welcome, but it does not replace water. Alcohol and excessive caffeine can make cold work feel more uncomfortable, so save them for after the tools are packed. If you have medical conditions or take medication that affects hydration or temperature regulation, ask a qualified health professional for advice before long cold sessions.
Make Yourself Visible and Stay Reachable
Snow carving often happens near roads, ski trails, parks, or event spaces where other people are moving. Wear a high-visibility vest or a jacket with reflective strips, especially if a vehicle, snowmachine, or grooming machine shares the area. Set out cones, flags, or a rope boundary when the site allows it. A spotter is worth having when you are focused on a fine detail and cannot watch your surroundings.
Keep a phone or radio in an inside pocket where it stays warm; batteries lose power in cold. Tell someone your plan and agree on a check-in time. A headlamp is useful even on a short winter day, because weather can dull the light and a session can run longer than expected. Carry a simple first-aid kit, a whistle, and a small repair kit for tools. Put the essentials in one bag so you are not searching through loose pockets with numb fingers.
Visibility kit
- High-vis vest or reflective bands
- Headlamp with spare batteries
- Warm phone or radio, plus check-in plan
- Whistle and basic first-aid supplies
- Cones, flags, or rope for boundary marking
Work Steady, Keep the Site Clean, and Watch for Cold Stress
Warm up before you carve. Swing your arms, march in place, and make a few easy cuts or scoops. Set tools out where you can reach them without stepping over cords, bags, or loose snow. Keep blades sheathed when not in use, and never leave a tool on a surface where it can slide off. Clear a stable standing area and a path for carrying snow away from the sculpture.
Pace yourself. Alternate between heavy work and detail work, and take breaks before you feel chilled. Remove layers before you sweat and add them as soon as you stop. Watch for shivering, numb fingers or toes, clumsy hands, confusion, or unusual tiredness. If any of those appear, stop, get warm, and drink something. Do not push through severe cold symptoms. For persistent pain, breathing trouble, or signs of hypothermia, seek professional medical help.
Safe working habits
- Set a boundary and keep bystanders clear of the carving zone.
- Use a stable stance and lift with your legs, not your back.
- Keep tool edges covered until you are ready to cut.
- Take a five-minute warm-up break every hour, or sooner if you feel cold.
- Leave enough daylight and energy to pack up safely.
The Ten-Minute Pre-Sculpting Check
Before you start, run a simple sequence: check the weather and site, layer for changing effort, protect hands and feet, put water and food within reach, make yourself visible, and agree on a check-in plan. Lay out tools, clear your stance, and take one last look at the forecast. If something is missing, fix it now—the block will wait. A calm, well-prepared start usually leads to better carving and a warmer ride home.
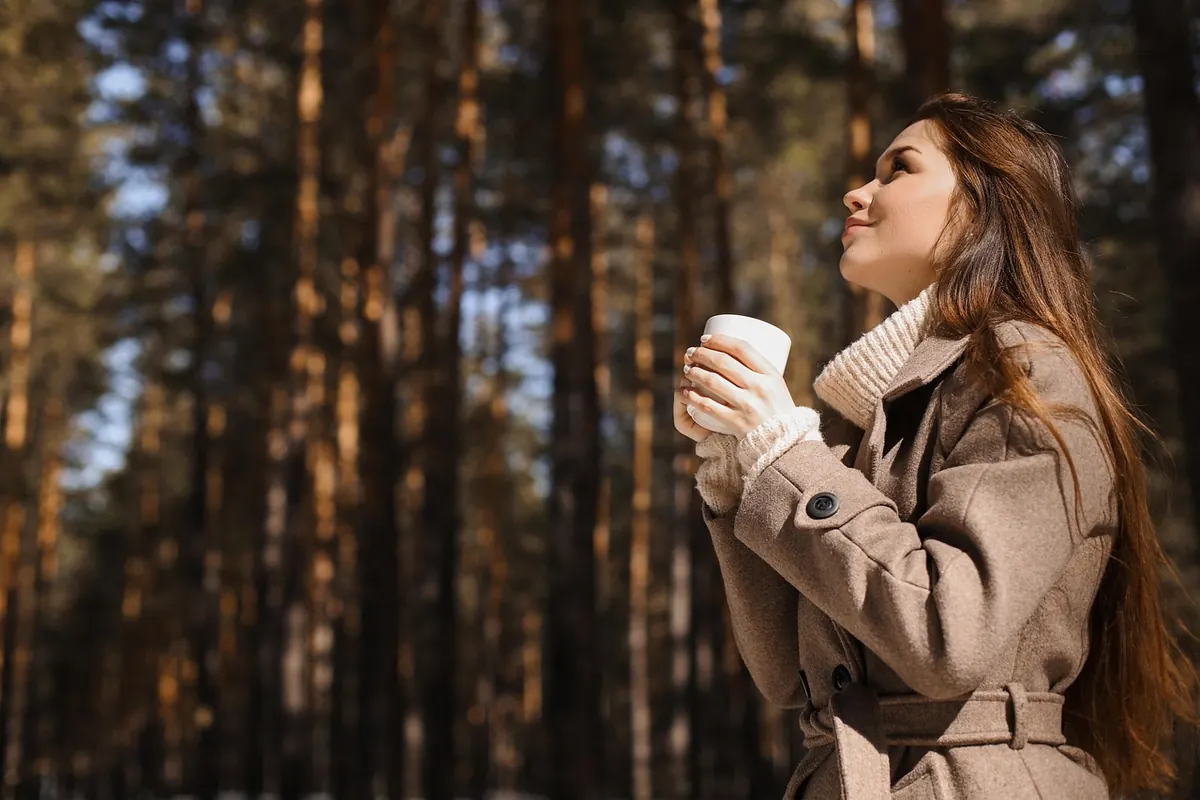
Photo: Katya_Ershova / Pixabay