Snow is not one material. A block packed at minus fifteen behaves nothing like one packed during a thaw, and the difference shows the moment your chisel bites in. Sculptors who work outdoors through a whole season learn to treat the snowpack as a moving target: what held a crisp edge in January can crumble in March. Reading wet, dry, and wind-packed snow is less about theory than about saving hours on the scaffold, and finishing a piece with the details still attached.
Why the Same Snow Carves Differently
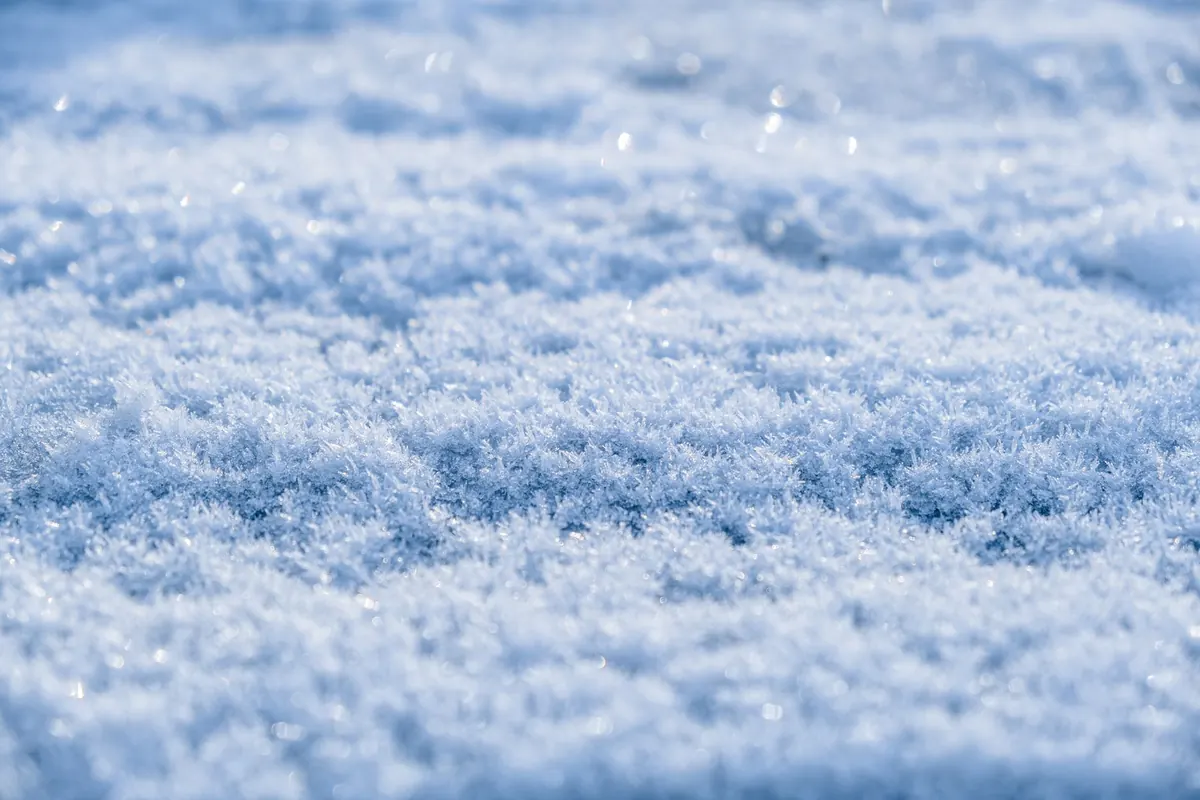
Fresh snow is mostly air. As it sits, water vapour moves between grains, sharp points round off, and the crystals bond where they touch. That process, sintering, is what turns a pile of flakes into something you can cut. Its speed depends on temperature, water content, and how tightly the snow is packed.
Three things decide how a block will behave under your tools. First, how much liquid water is present: water is a glue that freezes into strong bridges, but too much makes the mass slump. Second, the temperature history: repeated freeze-thaw cycles build ice lenses that stop a saw dead. Third, the wind, which crushes delicate crystals into dense, hard slabs and can leave voids underneath them.
A five-minute look at the snow before you build tells you more than any rule of thumb. Cut a face with a shovel, run your glove down it, and note where it is soft, where it rings hard, and whether there is loose, sugary snow near the ground. That bottom layer, often depth hoar, is weak and worth digging out before it undermines everything above.
Wet Snow: Heavy, Fast, and Forgiving Until It Isn't
Wet snow arrives with mild air, usually around freezing to a few degrees below, and it is the material most sculptors hope for. Squeezed in a fist, it makes a snowball that holds. It packs under a boot, bonds quickly, and carves cleanly once it has set.
Packing and forming
Work in layers of roughly 15 to 20 centimetres and tamp each one evenly rather than hammering the surface. Build forms with drainage in mind: if meltwater collects at the base, the whole block can shift overnight. In a thaw, pack in the morning while the snow is still cold, then let the afternoon sun do some of the settling for you. A clear night after a mild day is a gift; the block will firm up like concrete by morning.
Carving wet snow
Details hold well in wet snow, but tools clog. Keep a scraper or a stiff brush handy and clear the blade often. Smooth surfaces shed water and freeze harder than rough ones, so spend time finishing the faces you want to last. A plant sprayer of cold water over a finished surface, applied in the evening, adds a thin, hard skin that protects fine edges from the next day's sun.
Watch for two failure modes. Water pooling at the base softens the foundation, and overworked snow turns to slush that refreezes as a weak, sugary patch. If a section starts to feel gritty and loose under the tool, stop shaping it and let it drain and freeze.
Dry Cold Snow: Light, Stubborn, and Thirsty
Cold, dry snow is beautiful to look at and difficult to build with. It has little free water, so grains bond slowly and weakly. Packed in a form, it stays powdery and crumbles at the edges. A rough rule of thumb is that fresh dry snow holds only about a tenth of its volume in water, which is why it feels like packing feathers.
Getting dry snow to hold
Mechanical packing does most of the work: fill forms in thin layers and tamp with a flat-faced mallet or a heavy tamper, not with your boots, which leave uneven density. Adding water helps, but the method matters. A fine mist from a sprayer penetrates and bonds. A bucket poured over the top mostly runs off. Mixing snow and water in a tub into a slush, then packing that into the form, gives the strongest result for load-bearing sections.
In deep cold, below roughly minus ten, misted surfaces tend to glaze rather than weld. The bond will be a thin ice skin over loose snow, which looks solid and fails suddenly. Build thicker walls, give yourself wider bases, and accept that the structure needs more material than it would in wet snow.
Carving dry snow
Sharp tools work better than force. Dry snow responds to slicing cuts from a handsaw, a thin metal spatula, or a sharpened wooden paddle; dragging and scraping tends to tear the surface. Fine detail is possible but fragile, so keep delicate elements small in number, close to the mass, and out of the wind. Where you need a crisp edge, mist it, wait for the temperature to drop, and cut the following morning.
Wind-Packed Snow: Strong Shells, Hidden Weakness
Wind does the packing for you, and sometimes does it too well. Driven snow breaks into small, dense grains that lock together into slabs hard enough to walk on. Wind-packed snow is excellent for tall structures and load-bearing volumes, and its density holds surface detail beautifully.
The problem is that wind builds in layers, and those layers do not always touch. Hard crusts can bridge hollow spaces, and sculpting into one can open a cavity with nothing behind it. Probe before you trust a surface: a thin rod or ski pole pushed in steadily will tell you where the density changes. Cut a small window into a suspicious face and look at the cross-section.
Carve wind-packed snow from the top down where you can, so loose material falls away from finished work instead of piling on it. Avoid tunnelling into unsupported slabs, and never stand on a crust that has a void beneath it. Wear eye protection when chiselling hard, icy surfaces; chips fly fast and sharp.
Reading the Snow Before You Cut
A short inspection saves a long day. Before committing a design, run through these checks:
- Squeeze test. A snowball that holds means wet or damp snow; one that crumbles means dry snow that needs water and tamping.
- Probe the block. Push a thin rod in slowly. Sudden give means a void, an ice lens, or soft depth hoar.
- Look at the surface. Wavy, sculpted ripples and hard ridges mean wind action; smooth, settled snow means it has had time to sinter.
- Cut and drop a block. If it breaks along flat planes, expect your carving to do the same.
- Check the overnight low. A hard freeze after a mild day firms everything up; a mild night softens it.
- Note sun and wind exposure. A south-facing wall will lose detail hours before a shaded one.
- Inspect the base. Loose, sugary snow at ground level should come out before you build on it.
Matching the Design to the Snow
Design choices should follow the material rather than fight it. A few reliable pairings:
- Wet snow: large volumes, rounded animal and human forms, smooth sweeping curves. Build fast, then let the cold set it.
- Dry cold snow: chunky geometric shapes, broad planes, thick walls, few thin protrusions. Keep detail shallow and supported.
- Wind-packed snow: tall vertical structures and crisp surface pattern work, with careful probing before you cut deep.
- Spring corn snow: carve early, finish before midday, and mist the surface in the evening to rebuild a hard skin.
Working With the Season, Not Against It
Keep a small test block beside every piece. Pack it from the same snow, carve a couple of edges into it, and watch how it behaves overnight. After a few weeks you will know your site's habits better than any forecast, and you will stop guessing which mornings are for building and which are for finishing.
Carry the practical habits with you: lift with your legs when loading forms, keep tools sharp and gloves dry, and stay off any structure you have not probed. Snow rewards patience and observation. Read it before you cut, and the season will give you far more working days than you expect.
Photo: Ilo Frey / Pexels